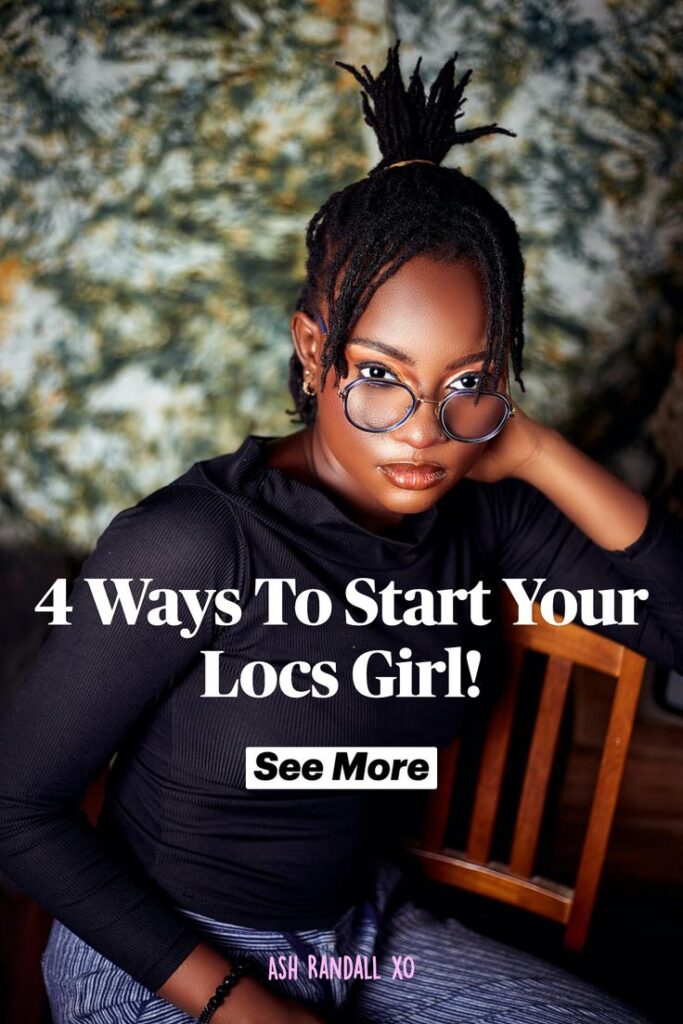
What if I told you there are actually 4 ways to start your locs? I know you’ve been thinking about starting them, but haven’t decided on the method yet. The great thing is, you have a few options that will better suit your hair type and lifestyle.
Depending on your hair type, one method will be better than the traditional comb coils. That’s right, you heard me. You don’t have to start your locs with comb coils.
So if you are looking for an alternative way to start your loc journey, I have other options for you. Here are 4 better ways to start your own locs today.
In a rush? Jump to a section that sparks your interest below.
DISCLOSURE: Some of the links in this post contain affiliate links. At no additional cost to you, I may earn a commission. Read more about it in the Privacy Policy.
Comb Coils
Comb coils are one of the popular ways to start your locs. This method is best for type 4 natural hair because the texture is coily enough to support your coiled started locs.
However, I’ve seen others with type 3 curls go for the comb coils method as well. Though from my professional experience, type 3 hair doesn’t support the comb coils like type 4 can. Just because type 3 curls have a looser curl texture than type 4 coils.
Some who have tried this method with type 3 curls have stated that their hair took a long time to start the budding process. And washing their starter locs was a mess, because the coils kept unraveling.
But don’t let this deter you. If you prefer this method, go for it. Just be extra careful when shampooing your coils. Some stylists will advise you not to shampoo your hair for at least 3 months. And this is why.
I think that’s a bit unhealthy for your hair. All of the product buildup, sweat buildup, and funk will be trapped in your coils, and that can attract elements such as gray and white buildup inside.
Two-Strand Twists
An easier way to start your locs by yourself is the two-strand twist method. You can use this method to start microlocs as well. Over time, your starter locs will begin to swell from the budding stage, and get thick.
But as they mature, they will shrink to standard size (sometimes). For my locs, it took about a year for them to be the same diameter from root to end. This option is great because most curly textures can use this method. Although, it is best recommended for type 3 and 4 textures.
Plus, it’s a safe alternative to comb coils because they don’t unravel as much when washing them or getting them wet. If you have type 2 loose curls or naturally straight hair, you should try using the braids or crochet methods.
When doing the two-strand twists method, you should part out your sections, split each section into two equally sized parts, and twist down to the ends. Look at how this queen did the two-strand twist method on her own hair.
Braids
If twists aren’t your thing, braids are a great choice to start your locs. This method is suitable for all hair types because, with a braid, the hair is intertwined and won’t unravel as fast as the other methods.
I have seen many people start their locs with individual braids, no matter the size, including microlocs and sisterlocs. It’s the perfect choice if you have a loose curl pattern. If you don’t want to go with the crochet method, braids will be your best option for locking your hair the fastest.
However, keep in mind that braids are flat.
So when your locs start the budding process, your starter locs will become flat-looking, while your new growth will be circular, depending on how you plan to maintain them.
Instant Locs / The Crochet Method
If you want instant locs with minimum to no unraveling, the crochet method is the best choice for you. This method uses a crochet hook to thread your hair strands together to create a circular loc that is the same diameter from scalp to ends.
As a result, you will have mature-looking locs in one session. The best part about instant locs is that anyone and everyone can use this method. If you have naturally straight hair, type 2, type 3, or type 4 hair, you can get instant locs.
Here is a video on how to use the crochet method on straight hair to type 3 – type 4 natural hair.
Items Needed To Start Your Locs
When you are ready to start your locs, you will need some basic hair care items that will help you part your hair, keep it in neat sections, and tools to crochet or interlock your hair if you choose that method.
Rat Tail Comb Fine-tooth Hair Combs
Amazon has this 4-Pack Rat Tail Comb set that’s designed to deliver precise parting with a smooth, drag-free combing, and the control necessary for superior hair care.
Firm Grip Hair Clips
To help hold your hair into sections, you should use these 12-pack Alligator Hair Clips with a strong and durable silicone material, so they won’t slip off your hair or your hands.
It has a firm grip on wet or dry hair. The metal blade at the bottom will help glide into the hair, while the silicone band at the top won’t pull or tangle your hair.
125 Double Prong Hair Clips
These double-prong hair clips are a must when starting locs. They are mostly used to retwist locs, but you can also use them to hold down fresh comb coils. This pack comes with 125 pieces, so you will have some time before you start losing some pieces.
They are made of nickel-plated metal, so they won’t rust as fast as other clips. I like using double-prong clips because I have thick hair, and they hold down my twisted roots securely and tightly.
Rat Tail Combs and Gator Clips
If you are looking for a great starter pack for combs and alligator clips, here you go. I found a Rat Tail Comb and Alligator Hair Clip set that comes with 3 Precision Parting Rat Tail Combs, and 7 gator clips for securing your hair in place.
When using these clips, be careful not to handle them with aggression. I’ve had a few of these clips in the past. They were great, but if you open them too wide, they can break.
Dreadlock Crochet Needle Kit
Dreadlock Crochet Needle Kit
I found this crochet needle kit, and I think it’s perfect for starting instant locs. Why? I mean, look at the options you have here. You get 8 pieces of interlocking tools that come in all shapes and sizes.
You also get 3 wooden crochet needles, all sized in 0.75mm. This is a great size to help interlock the hair into instant loc form. These deadlock accessories can be used for small, medium, and large locs.
How To Shampoo Your Starter Locs?
When washing your starter locs, you want to be as gentle as possible. Focus on your scalp and the roots of your locs. Since most of the dirt and product build-up is at the scalp, let the shampoo work for you.
You want to use your fingertips to gently massage in a circular motion on the scalp. When rinsing, try not to over-manipulate your starter locs. Instead, let the water in the shower work for you.
I will stand under the water and gently squeeze my locs to help any dirt or build-up escape. Even though some Locticians would advise not to wash our starter locs until the 3-month stage, I ignored all that and shampooed my hair every month.
Because who wants three months of dirt and build-up locked into their hair? Since my hair was in twists, it was easier to shampoo without most of them unraveling.
I did this because I couldn’t stand to not wash my hair every three months. My scalp wasn’t having all of that. So at the end of the day, do what’s best for you, your scalp, and your hair type.
I hope this helps.
– Much Love, Ash ❤️


Leave a Reply